
Details
Pattern:
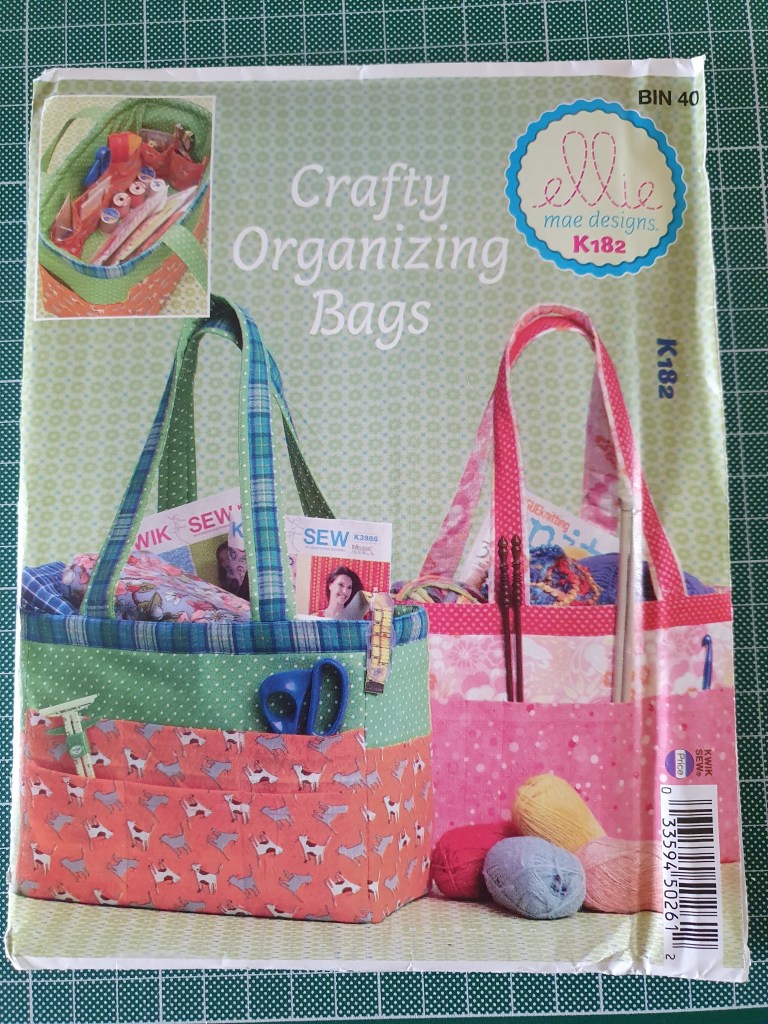
Crafty Organizing Bag by Ellie May Designs K182. Copyright The McCall Pattern Co. 2014. (Printed in USA)
Material:
- Winnie the Pooh fat quarters…lots of them!
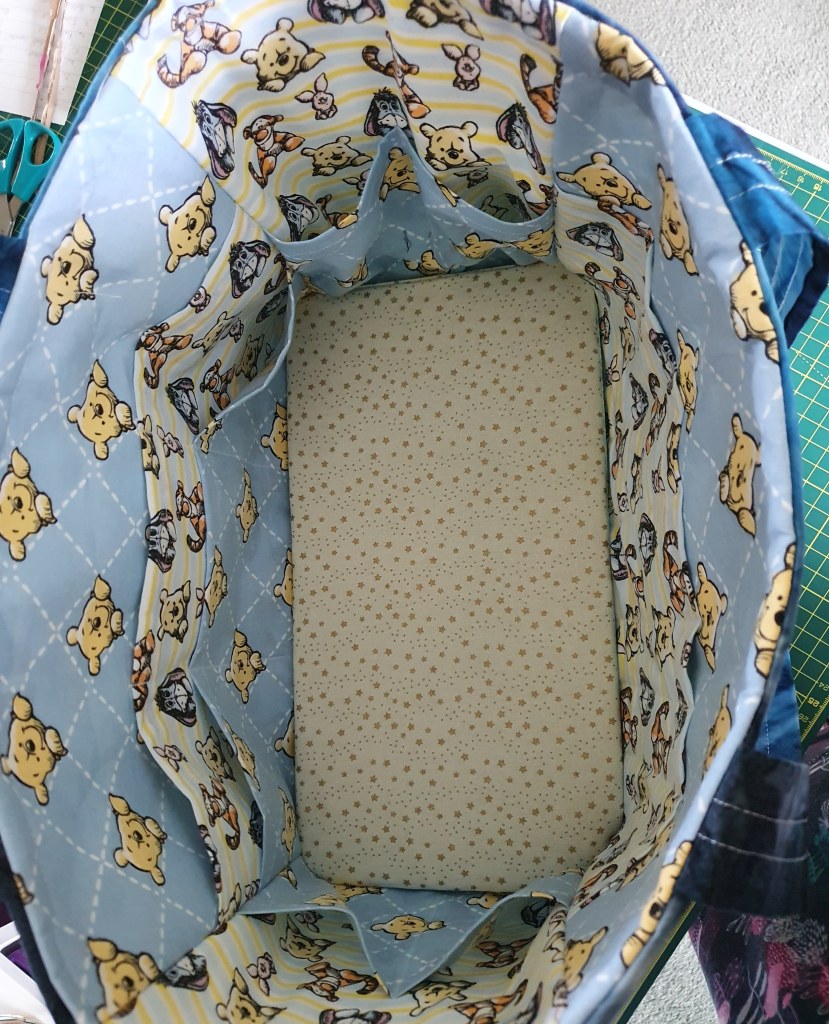
- Blue fabric totally hidden (inside base and the underside of the cardboard base insert).
- Gold stars fabric (outside base and top of the cardboard base insert).
- Some leftover batik material I’d used for face masks and trim on last week’s sewing project.
Cost:
I don’t know, definitely would be cheaper using material from a roll rather than cutting a square out of fat quarters and leaving L shaped leftovers. I bought the pattern years ago and don’t remember where.
Timeline:
Finished – 24th June 2022
I didn’t really keep an accurate track but how anyone on The Great British Sewing Bee can make an item from a pattern in 4 hours is beyond me. It took me about 4 hours to cut out the paper pattern and pick the fat quarters to use. Cutting the patterns out in the fabric was quicker, as that was done with my rotary blade and ruler. The sewing was ALL done yesterday.
Pattern summary
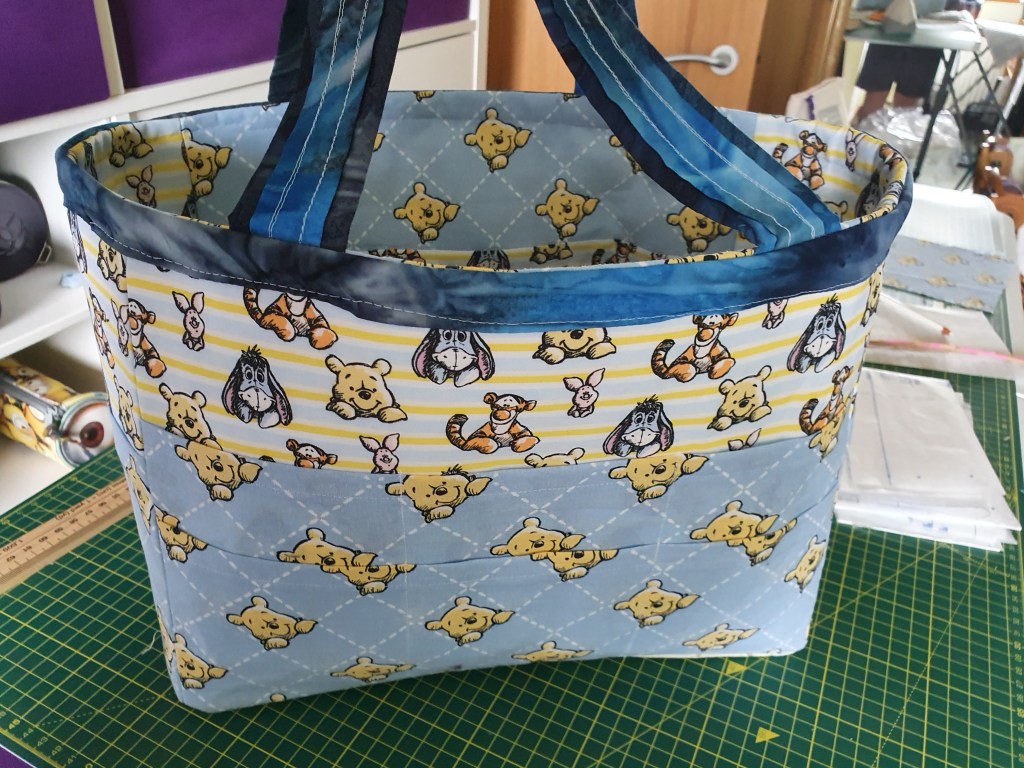
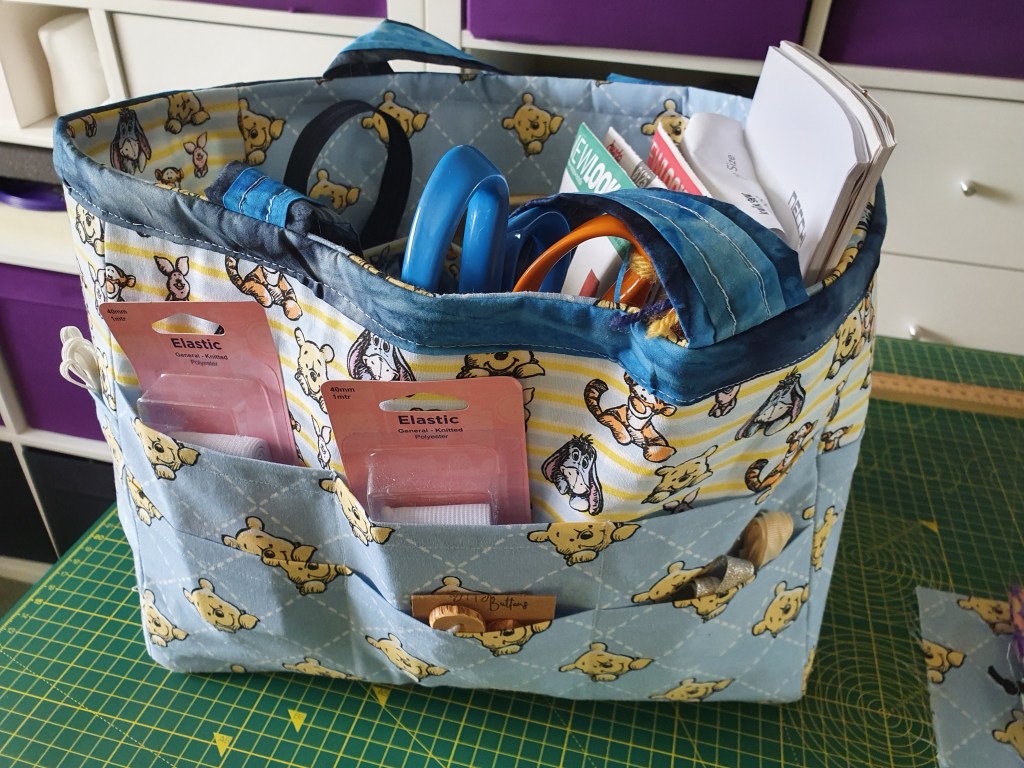
The pattern is for a bag with lots of different sized pockets inside and out. It was pretty easy to follow and sew.
The project bag I made last week had no instructions for making the lining, this project basically has you making the same bag twice, turning one inside out and then sewing together with the handles and trim attached.
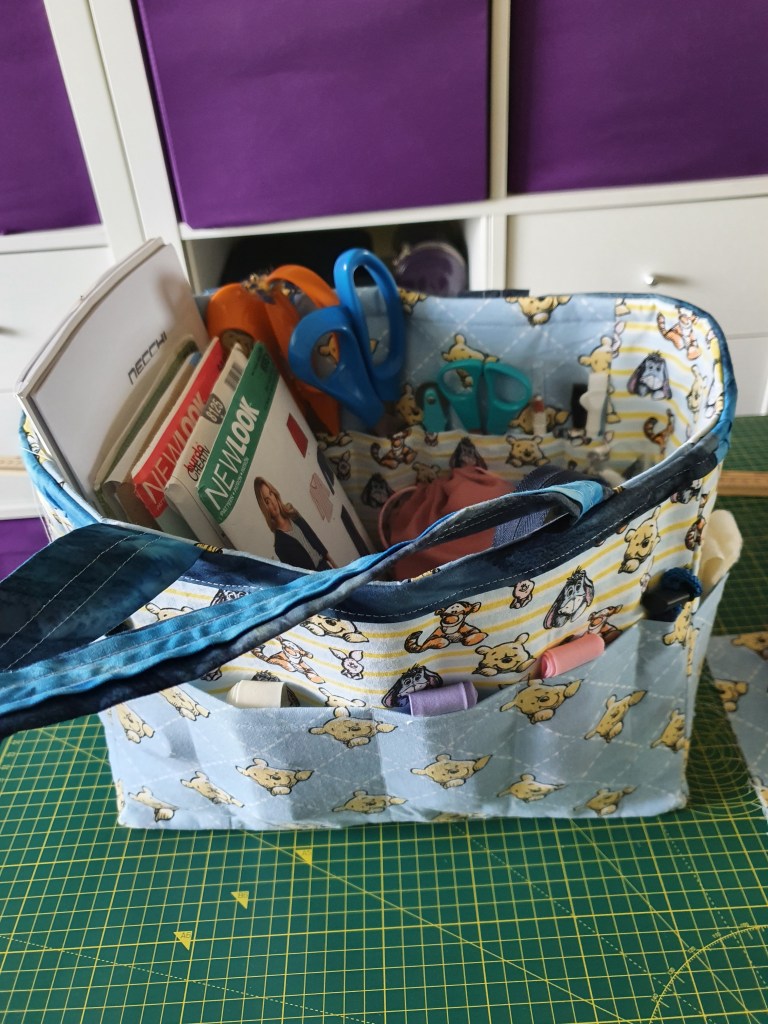
One of the sides has pencil thin slots you sew and after doing the first one I realised that was a bit small so for the outside version of that side I changed the sizes and ignored my markings, making some 2 or 3 slots wide instead. The other pockets I kept per pattern, but if I made it again I would leave one internal side pocket the full width without splitting it into two, basically because my box of sewing clips doesn’t fit a side pocket.
It said to use heavy interfacing so I ordered that and it is thick and stiff so that was a challenge to “bag out” (pull finished bag inside out so seams are hidden). It says to leave a small gap but in fact it needed a whole long side of the bottom open to manage to pull the bag through. Once it was bagged out it was this big stiff rectangle and you could do with a 2nd pair of hands to help push the lining down inside the bag…I used my head to get me started! I mean I literally treated it like a hat using my head to push the lining in!!
I think you could get away with a less thick and stiff interfacing, but it is great how it stands up and doesn’t sag at all so perhaps it is needed. Inside the base is a covered piece of cardboard so it’s sturdy. On the pattern photos it has knitting needles and crochet hooks showing, and I could see it would be good for storing many different themed crafting supplies or even drawing supplies.
This project said in numerous places to baste, or as we call it in the UK “tacking”, the fabric to interfacing, the pieces together etc. However, I had bought some sewing clips and did NO tacking at all and those clips are brilliant. I also used my walking foot on my sewing machine and nothing slipped…except…
I struggled with is the final step of stitching the blue trim around the finished bag. It was just so thick and the bag so bulky and stiff to feed into my machine and turn and in hindsight I should have hand stitched it, or use dark yarn that would hide the wigglyness of the sewing.
Material Summary
The pattern says to use 3 materials, but I didn’t have any material in my stash for this except a selection of fat quarter bundles and some leftover blue batik material. The blue material wasn’t long enough to make the trim edge in one piece so I sewed pieces together to make the long strip.
I pre-washed the fat quarters because I thought that’s what you did! In hindsight I wouldn’t bother for a project I’m not going to wash. The ends of the quarters made a tangled mess to deal with.
Do people usually sew the edges of material before washing and making their items? Please let me know in the comments. Nothing is ever pre-washed on Sewing Bee…does everything shrink the first time it’s washed?
I didn’t have quite enough of each batch of squares for it to be totally sticking to “cut this in Fabric 1” etc., but I made it work I think. My husband has obviously watched The Sewing Bee with me too many times and was saying Esme wouldn’t be happy with your pattern matching! 😂 In truth it would be better using plain fabric colours but this is what I had so I made it work as best I could and I’m happy with the end result.
I’m sure I’ll be able to find other projects for all the L shaped leftovers I have.
My next project is to make a simple top!
Photo Gallery

That is a lovely little bag for your sewing tools and notions. The interfacing sounds very sturdy, I should use that in my bags.
I pre-wash all my bag making fabrics. I don’t do anything to the edges but I’ve heard others sew a zigzag on raw edges or trim with pinking shears. I place my fabrics in a lingerie bag. They do tangle a bit but not as much compared to just being placed in the machine. It also stops the loose threads tangling around the machines agitator.
LikeLiked by 1 person
Oh that’s great, thanks very much for your advice.
LikeLiked by 1 person
Your bag is brilliant. Since you used a cardboard base, you will never be able to wash it, so you could have skipped prewashing the fabric. Although it might have shrunk when you were ironing it. I prewash all my fabric and just cut my pattern pieces well inside the frayed edges.
LikeLiked by 1 person
The cardboard base is covered separately and removable but I can’t see me washing it. 😂
LikeLiked by 1 person
On the theory that fabric is processed using a lot on chemicals, I wash nearly everything when it comes in the door. I might do a quick row of zigzag if it looks like it will fray a lot. If it’s something that is likely to shrink, and the finished product has to fit, I take it to somewhere I can throw it in a dryer, as I don’t have one – which means that if I’m sewing for myself, I don’t worry about that so much!
I use my various totes and project bags A LOT, and travel with them as well; I need to be able to throw them in the washer. I have used the plastic that bacon used to come on (does it still? it’s years since I’ve bought any.) for stiffening in bags, the brim of a hat, etc. My sister-in-law made me a bag that turned out to have cardboard to stiffen the bottom; throwing it in the wash was a disaster!
I like your choice of fabric, especially the dark blue, which works really well to accent the others. Nicely done!
LikeLiked by 1 person
Thanks very much for those tips and compliments
LikeLike
What a great looking bag. I like that pattern a lot. I always wash the fabric first. I don’t do anything to the edges, but I always think I should after I wash linen. I spill coffee a lot, so I’ve washed a lot of my project bags. And by I spill coffee, I mean Elliot wiggles into my chair without regard for knitting and coffee.
LikeLiked by 2 people
Haha well he likes to snuggle with mum. I will wash the other fabrics I have this week so they are ready for when my mojo is high.
LikeLike
I really like the shape and size of this bag – and I think you did a very nice job on it! For things that I’m not going to be washing like garments (which would include project bags), I don’t usually bother washing them. I don’t think it makes a ton of difference and without being subjected to a washing machine (I usually just damp wipe them out occasionally), I’ve never had any issues.
LikeLiked by 1 person
That bag is amazing! It looks like it will be really useful, and the fabrics are so cute! Great job!!
LikeLiked by 1 person
Thanks I’m really please with how it turned out.
LikeLiked by 1 person
[…] is the third bag pattern I’ve followed. See an earlier post for the large sewing bag I made. I also have previously made another bag which holds some of my weaving bits when I’m […]
LikeLike